PnP PowerShell and multi-factor authentication
If you use PnP PowerShell, you might be aware of the fact that there many many ways to authenticate towards your SharePoint Online Tenant.
If you have multi-factor authentication enabled on your tenant, basically the only way for you to connect to your tenant was by using the -UseWebLogin method. The way it worked is that we launched a browser window, you authenticated, and we captured the authentication cookie that was returned by the browser. We then dress up every CSOM call made by the cmdlets with that cookie. Effectively authenticating you.
Now we have added another option as of version 2.24.1803.0 (March 2018 release):
Connect-PnPOnline -PnPO365ManagementShell <SwitchParameter> -Url <String>
    [-ReturnConnection <SwitchParameter>] [-LaunchBrowser <SwitchParameter>]
    [<CommonParameters>]
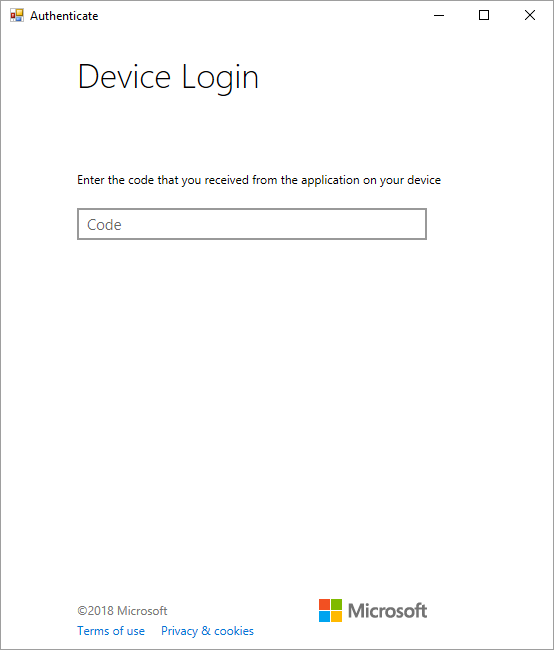
This option uses something called ‘Device Login’.
###How it works We created a multi-tenant AAD application which asks for the following rights:
- Read and write managed metadata
- Have full control of all site collections
- Read user profiles
- Invite guest users to the organization
- Read and write all groups
- Read and write directory data
- Access the directory as you
- Read and write identity providers
- Access the directory as you
When you use the -PnPO365ManagementShell parameter as is you will see the following:
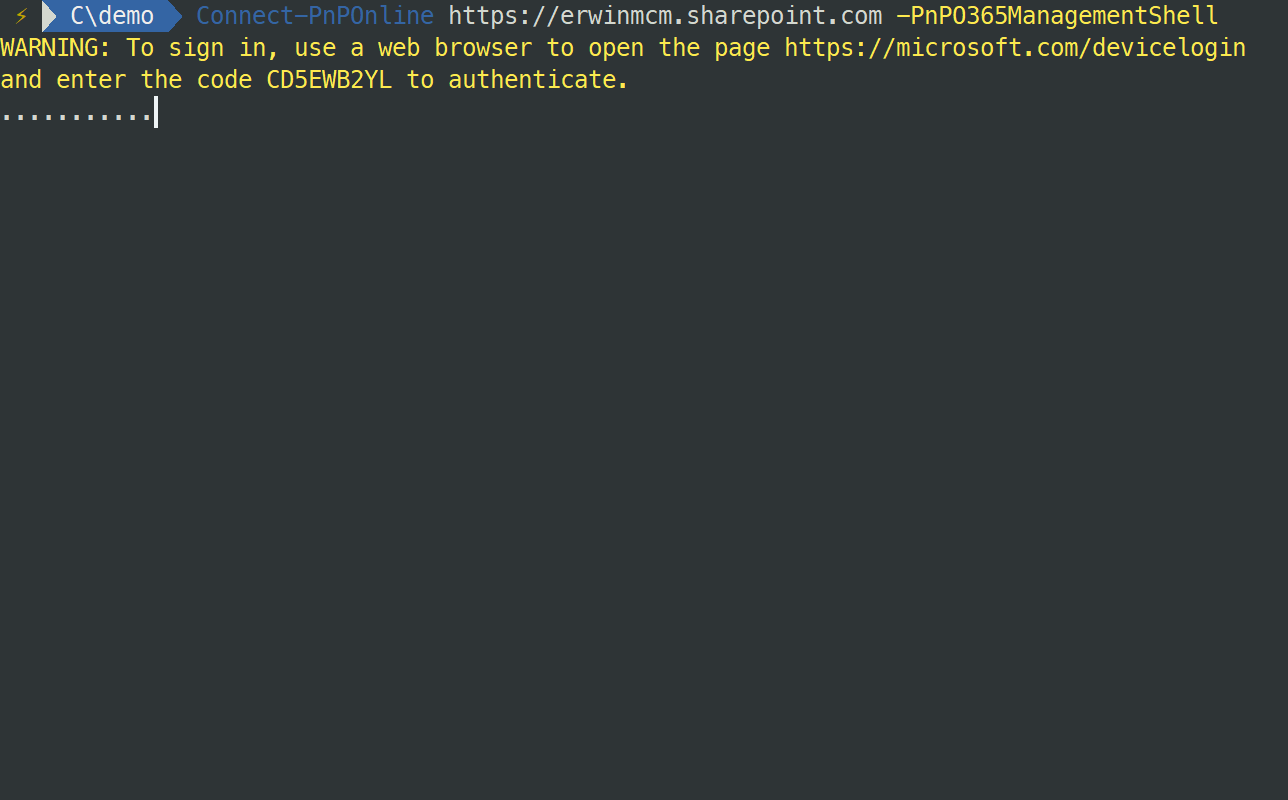
You then have to open a browser, navigate to the URL specified and enter the code we show. You will be asked to authenticate, and if you use multi-factor authentication, follow the flow as provided. Then you will have to consent to the request, e.g. grant the PnP O365 Management Shell access to your tenant.
While this is happening, PnP PowerShell is polling an endpoint for a success status. The moment you successfully authenticated and consented everything, PnP PowerShell will receive a success value, and it receives an access and refresh token. We use this access token from that moment on to perform requests using CSOM. If the access token expires, we will retrieve a new one using the refresh token.
This will work until you close the PowerShell session. Reopen it and you will have to go through the authentication flow again. However, as you previously consented/granted the PnP O365 Management Shell application access to your tenant there is no need to go through the consent flow again.
If you want to revoke the PnP O365 Management Shell access to your tenant, you will have to navigate to your Azure Active Directory in https://portal.azure.com and remove the PnP O365 Management Shell application there.
To make your life a bit easier, notice the -LaunchBrowser option. It will make the process very similar to the -UseWebLogin option. It popups the page in a separate browser window and it will automatically copy the code to the clipboard for you.